Even though I don't feel very good, I still worked on her quilt this morning. I have had to call it quits for the day. So, I thought since I'm resting in bed for the rest of the day, I thought I'd post my pictorial tutorial.
I used the following rulers for straight lines, some circles and arcs. Straight lines I used the Mini straight tool from Quilter's Rule. It has grid lines, curve and a 45degree line. For my center circles I used Dusty Farrell's Pocket Pebbler and for the arcs, I used Lisa Calle's arc ruler pack/set. You cannot purchase these arcs separate, I believe there are 5 different arc rulers in the set. I love Lisa's arcs!!

I began this quilt by stitching in the ditch on all the blocks/shapes. The black diamonds were what I began quilting first. With these diamonds, I stitched a circle in the middle of the diamond.
I place Dusty's pocket pebble in the center, I use the registration lines on the ruler and line them up with the diamond points on all 4 corners of the diamond. There is a center seam on these diamonds so it is easy to find the center. This ruler separates at both ends so that you can open the ruler and place the correct circle size you need. First, I get my needle in place, pull up the bobbin thread, then place the ruler where I need it. I do "test" that it is in the center first. Once all is in place, I place my left hand on the ruler, and stitch around. You don't have to have a death grip, just hold steady and in place :). I also make sure my hand is down on the ruler, meaning my palm and all fingers are out of the needles ways! I don't hold the ruler in place with my finger tips. I have learned my lesson and over worked the tendons in my fingers and now have developed arthritis. So, please place your hands on these rulers properly. I speak from experience.
 |
Pocket Pebbler ruler by Dusty Farrell in the diamond. Now, the trick was remembering to start in the middle not on the outer edge/point :) I use the arc ruler and stitch the lines, I continue all the way around. When I get back to my starting point I then go and fill in the designs on the inside and outside. See the beginning picture of what I drew/stitched. Next diamond design:     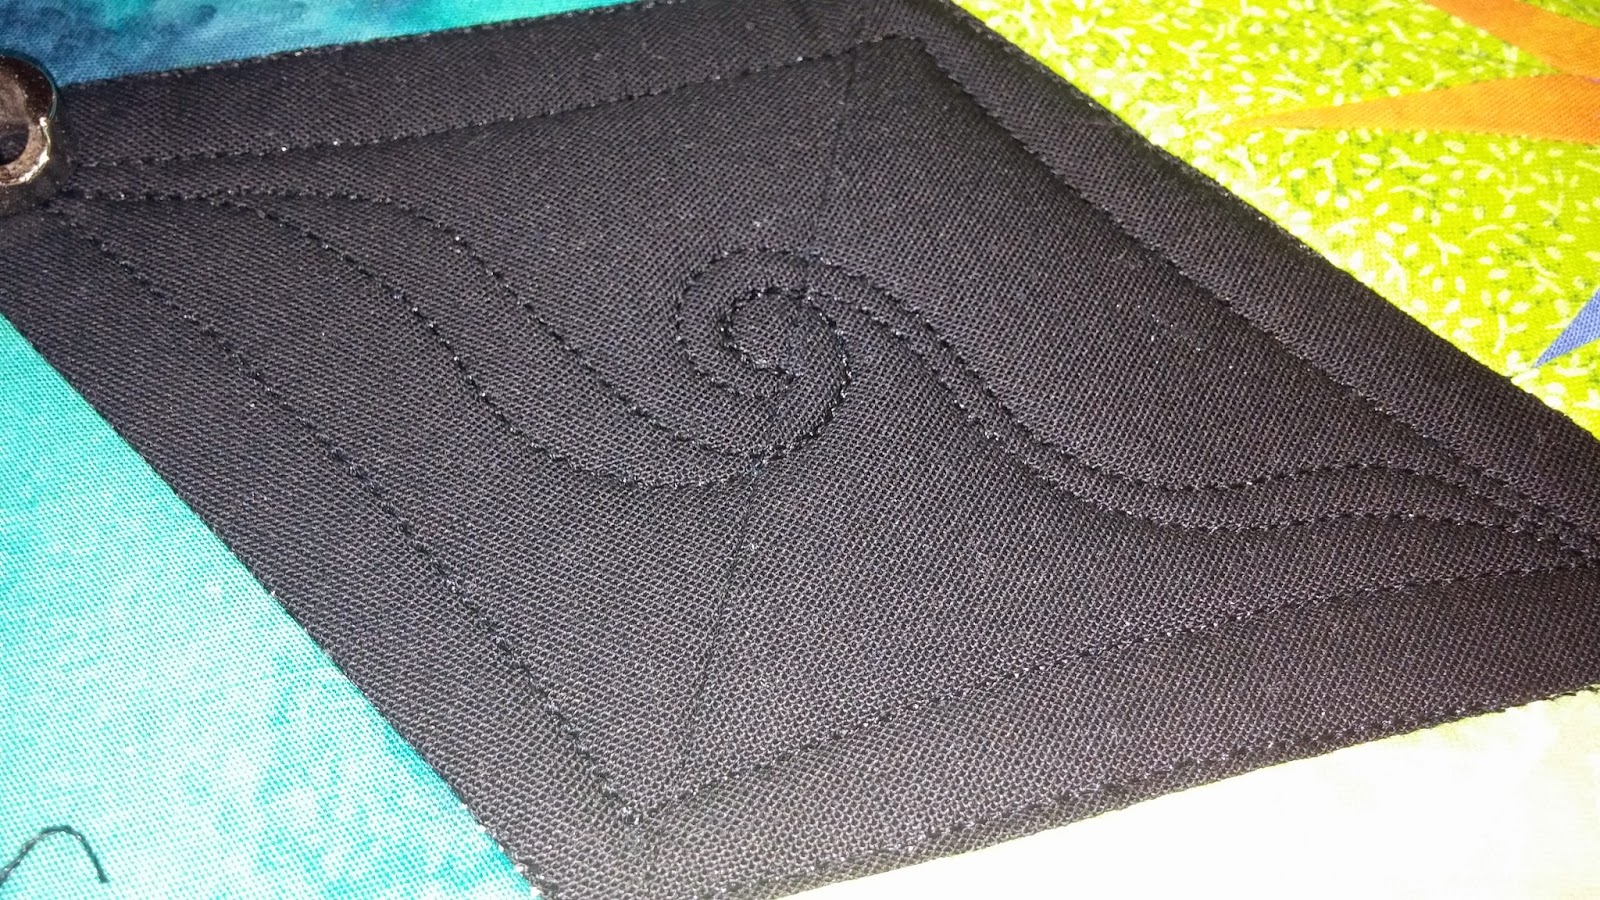 Once all 4 sides/arcs are done I stitched "c's", continuous "c". I hope to be able to put more about how I quilted this quilt in the next couple of days, lets hope I feel better tomorrow. Happy sewing!! |
No comments:
Post a Comment